
Sample digital story
Sample movie by Alex DeMare
Pdf of the instructions below.
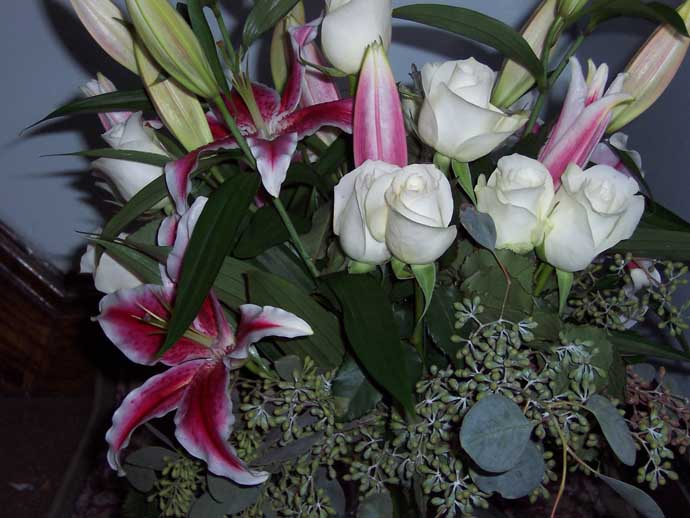
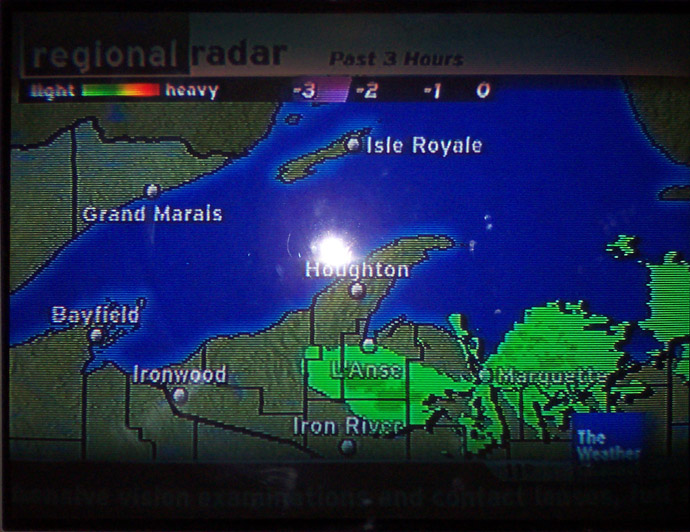
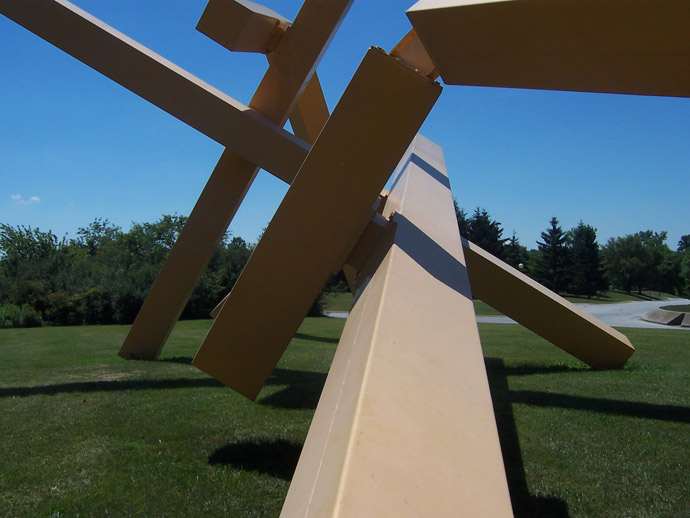
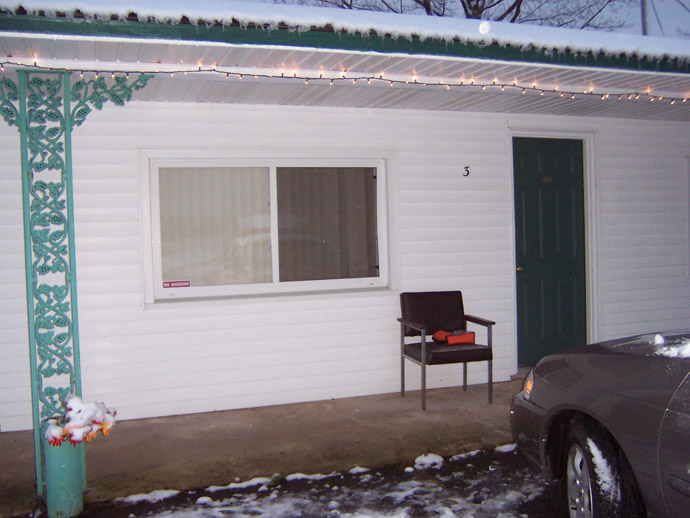
Here are a bunch of photos you're welcome to use in your digital story. Begin by right clicking on a photo & saving it to your folder on the desktop. Do this a few times so you have several photos to work with.
|
|
|
|
|
|
Now let's save some sound. I emailed you two terrible sound clips. Open your email, right click on each clip & save each to the folder on your desktop.
Note: to record these I used my MP3 player. Nothing fancy or complicated. & I didn't edit the sound in Audacity to clean it up, crop it, or make it fade in, fade out, but I could have pretty easily.
Now that we have something to work with, let's play.
Open up Windows Movie Maker
File-->New Project
Now we need to import what we saved. If you filmed a movie, you would use the "capture movie" feature on the left hand column to take the movie off of your digital camcorder. But for now we're just going to import stuff we have lying around.
On the left, find "Import pictures" and click it. Find your pictures in your desktop folder & begin importing them one at a time.
Notice that as you import them, they appear in your collections.
Now click on "Import audio/music" and import the audio files you saved to your desktop folder.
So you have to import stuff to your collection before you can work with it in Movie Maker. But once you've done that...editing is a breeze.
Let's start playing with the timeline now. Grab a picture and drag it down to the timeline (where it says "video"). On the right side of the picture, click and drag the picture across the timeline. This lengthens the amount of time the picture will appear.
Let's see how it looks. In the video player in the upper right, click play. Not very exciting, true, but we're just beginning.
Now grab another picture and drag it down to the timeline, right next to the first one. Lengthen this picture.
In the video player in the upper right, click play.
The transitions will be a bit rough here. So let's make them smoother. Go to Tools-->Video Transitions. OR find Video Transitions on the sidebar. Find a transition that works for you. Drag the transition down to between your two pictures.
In the video player in the upper right, click play.
Now go to Video Effects & choose an effect to apply to your pictures. I recommend choosing "ease in" or "ease out" this first time cause the changes are pretty easy to see. Drag & drop the effect on top of one of your pictures.
In the video player in the upper right, click play.
Okay, let's save our work File-->Save Project As. Name it something like "test" and save it to the folder on your desktop.
Let's add text now.
Click on one of the photos. Click on "Make titles or credits" and figure out where you want the text to go. For convenience of viewing this first time, click on "title before the selected clip on the timeline." Type something clever in the text box. Note that you can change the font & color if you want to. Click "Done, add title to movie"
In the video player in the upper right, click play.
Just for kicks, click on a Video Effect and slide it down over your new text in the timeline.
Play your movie.
Let's do that again with some different effects. Click on Click on "Make titles or credits" and figure out where you want the text to go. This time, choose to have the title on the selected clip. Type in something interesting. Click on "change the title animation," click on various stuff to see what happens & choose something. Note that you can do an opening title for your movie & closing credits this way.
Okay, this is easy so far, surely adding sound will be difficult!
Find the audio files you imported (remember that these were super easy to make). Grab one and slide it down to the audio/music line of the timeline. Play around with it so it stretches out enough to cover both of your pictures.
I didn't edit the sound before I imported it, but I can edit it some here. Right click on the sound waves. Note that you can have the music fade in and out and adjust the volume.
In the video player in the upper right, click play.
You won't be able to hear the sound unless you have headphones (and given the quality of the "music," that's a blessing), but you can see the music waves in the timeline & if you were really clever, you could match up your transitions from one photo to the next with big changes in the musical pitch.
One more thing. I emailed you a video clip. Find that clip in your email, right click and save to your folder, import it, and add those clipped files that appear in your collections to your timeline.
Those are the fundamentals & you're probably already better at this than I am, so...now it's playtime. Experiment some of the effects to get a feel for what's possible. Click on stuff just to see what happens. Go to Tools-->Options and play around with the timing.
When you've finished playing, save your movie as a movie. To do this, click on "save to my computer" under "Finish Movie." Save it to your desktop. Once it's saved, it'll open and play the movie automatically.
Once you've saved your movie in a viewable movie format, Movie Maker will ask you if you want to save your project (when you try to close out). Here's the difference:
A movie is something that you cannot change later on. Note that the video you imported contained clips where images and sounds were connected & couldn't be separated.
A project is a file you can change as often as you want.
opening Windows Movie Maker

These course materials
are licensed by Lori Ostergaard under a
Creative Commons Attribution-Noncommercial-Share Alike 3.0 License.