Double click on Dreamweaver
You want to create a new document, so go to File-->New
A confusing-looking box will open up. When in doubt, I tend to ignore things that seem too complicated, so note that Basic Page is highlighted & click on "create" at the bottom of the box.
A blank page will open up.
Whenever we encounter new software or new places, we tend to focus on what looks different or strange. Instead, focus on what looks familiar here.
At the top of the page you'll see:
File Edit View Insert Modify Text Command Site Window Help
You know these from dealing with Word and other document processing software.
At the bottom of the page, you might see a series of boxes and command buttons. Some of these should look familiar as well.
With luck you're feeling a bit more comfortable in this new land of Dreamweaver.
Let's begin simply.
Type your name.
Highlight your name.
Go to the bottom of the screen & begin playing around with the font, the font size, the color, the alignment, etc.
Now type in Oakland University.
Highlight Oakland University.
We're going to make a link.
You can do this two different ways...your choice
1. In the link box at the bottom of the screen type in http://www.oakland.edu
When you're done typing that in, click anywhere on the page to get out of the link box.OR
2. Highlight Oakland University. Go up to the top of the screen and click on Insert-->Hyperlink
In the box that appears, type in http://www.oakland.edu.
Let's save this to our folder on the desktop.
Click on File-->Save As
Name your file index, just index, no caps, no emoticons, no dots, just index
This is now your homepage & once we upload it to the OU server (also sounds more complicated that it is), people will be able to get to this page by typing in www.oakland.edu/~yourOUemail
My homepage is saved as index, but people get to that page by typing in www.oakland.edu/~ostergaa
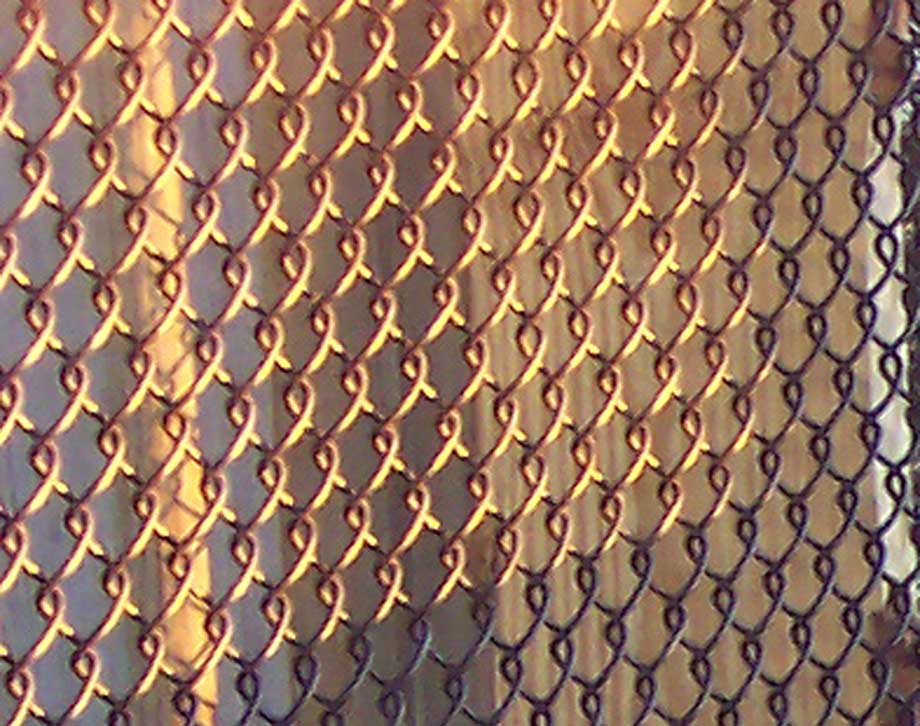
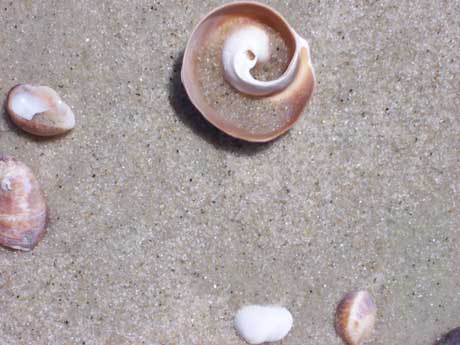
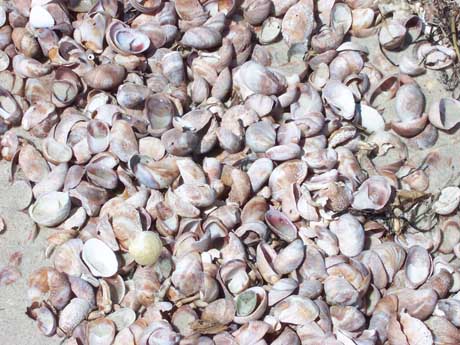
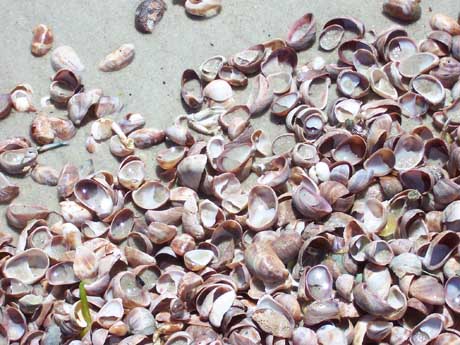
Now let's insert one of these pictures:
|
|
|
NOTE: All of the pictures on this page are photos I took last summer. I have no problem with you using them on your website, but if you steal pictures from other websites (without permission), you may get into serious trouble.
To save the image you want to use, right click on the picture. Save Picture As to your folder on the desktop.
Now that the picture is stored in the same place as your new webpage, go back to dreamweaver. Figure out where you want the picture to go.
Go to Insert-->Image. Find the image in your folder. Click Okay. A strange box will appear. Either insert some text to describe the picture or just click "okay."
Your picture will now appear.
Let's see how you've done so far.
Go to File-->save & save your latest changes.
Now go back to File-->Preview in Browser-->Pick a browser (explorer or mozilla) click on it, and your website will appear as it would online.
Click on the picture you inserted.
In the link box at the bottom of the screen, type in a web address, for example, you could link to the wikipedia entry for shells http://en.wikipedia.org/wiki/Animal_shell
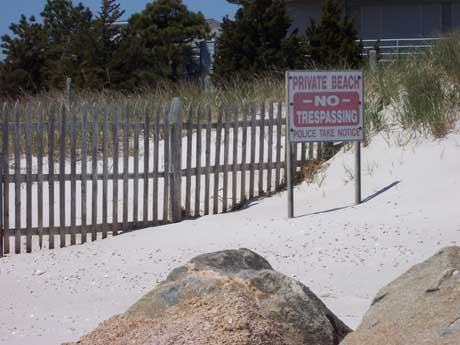
Or you can link from only a small part of your picture. I did this in the picture of the private beach above.
Click on the picture. At the bottom of the screen some new options will open up, including some green shapes at the bottom of the page. Click on the circle. Go back to your picture & click & drag a circle onto your picture. A link box will open up. Insert a hyperlink address http://en.wikipedia.org/wiki/Animal_shell into that box.
Click File-->Save
Click File--> Preview in Browser & confirm that your link works.
A rollover image is a picture that changes when you roll your cursor over it (example below)
To re-create this effect, right click and save the image below to your desktop folder.
Now you have two images you can work with saved to your desktop folder.
Click on Insert-->Image Objects-->Rollover Image
In the "original image" box browse and find the first image you want to use (this will be the image that always shows on the page)
In the "rollover image" box browse and find the second image you want to use (this will be the image that shows only when your cursor "rolls over" it).
If you want to, note that you can insert a link as well, so that when the cursor rolls over the image, it changes & then people can click on it to get to another page.
Click okay.
Save.
File-->Preview in Browser to see if it worked.
Now let's modify how your page looks.
Go to Modify-->Page Properties-->Click on the box next to the words Background Color & pick a color you like.
Let's change all of the text color on the page-->click on the box next to the words Text Color & pick a color you like that will work with your new background color.
While still in this box, click on "links" in the column on the left. Note the boxes next to links, visited links, and rollover links. You can adjust the link colors so that they appear different on the page, change color after people have visited them, and change colors when people roll their cursor over them. Play around with these boxes.
Now let's change the heading of your page (this is what will appear at the top of the browser when people visit your page...note: this page is called "web tutorial"). Click on Title/Encoding in the left column. Where it says title, type in something like "my home page." Click "Okay."
Save & preview in browser. Check out your new page.
Right click on one of the images below and save it to your desktop folder.
Go back to Modify-->Page Properties
Click on Browse to the right of Background image.
Choose the picture you just saved in your desktop folder.
Click Okay.
Save & preview in browser. Here's one I created.
Let's create a new page & link to this one. To keep it simple, let's make this page the clearinghouse for all of your favorite links.
Go to File-->New-->Create
Type in "My Facebook Page" or "My Myspace Page" (which ever one you have).
Go to your facebook or myspace page & get the link to it.
Go back to Dreamweaver & highlight "My Facebook Page" and paste the link into the link box.
Now save this page to your desktop folder as "links"
Type in "My Home Page" and highlight this text.
To the right of the link box, you'll see a yellow folder. Click on this folder, find your folder on the desktop, click on your homepage, which is called "index"
Save this new page. & go back to your index page so we can link it to the new page you just created.
Type in "My Favorite Links" highlight this text. To the right of the link box, you'll see a yellow folder. Click on this folder, find your folder on the desktop, click on your links page.
Save your work & preview in browser to see if the links work.
1. your homepage must be called index (no caps or punctuation, just index).
2. the web hates spaces between words. when you save a file, save it as one word: example, if you save your links page as "links page" with the space, your webpage visitors will get an error message when they try to get to that page. Instead, you would save it as "linkspage" www.oneword.com.
3. when you insert images, those images must be saved to the same place as the page itself or you'll get a broken image icon instead of a picture.
4. If things still aren't working, make sure you saved your most recent edits.
When in doubt, keep trying & before you blame yourself, blame the user-interface or the software designer...9 times out of 10 if something is confusing it's because the software people didn't run enough usability tests and/or didn't take the experience and intuition of their users into consideration.
First, login using your ou email (minus the @oakland.edu) and password.
This gives you access to webspace that is all yours & that no one else can access without your OU email login and password.
You will need to create a folder here to keep your website in (but you need to do this only this one time).
To create the html folder, go to the box to the right of "create directory"
Type in html (no caps, no punctuation, just html).
Click "go"
Now you have a folder to hold all of your webpages in the future. Note that anything contained in this folder can be viewed by people searching the web.
Double click on the blue html link
This opens up your folder so you can begin to upload files to it. Make certain you are in this html folder before you start uploading files.
First, upload your index.
Click Browse to the right of the words Upload File:
Find your index page in your folder on the desktop.
Click on it.
Click on Upload.
Do this with every other file in your desktop folder. Note: if you don't upload the pictures to this html folder, they will not appear on your website.
When you're done, go to the web & type in your web address www.oakland.edu/~youremaillogin...yours will look like mine www.oakland.edu/~ostergaa
Your website should appear. Make sure the links work & the pictures are there.

These course materials
are licensed by Lori Ostergaard under a
Creative Commons Attribution-Noncommercial-Share Alike 3.0 License.